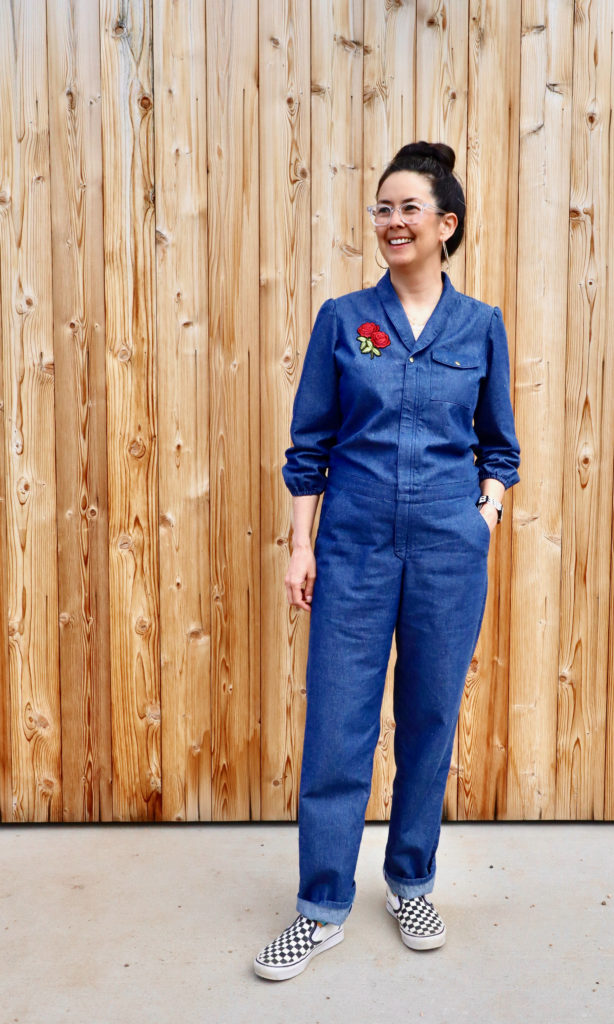
Remember the shawl collar coveralls I’ve been working on? They’re done!
The final product
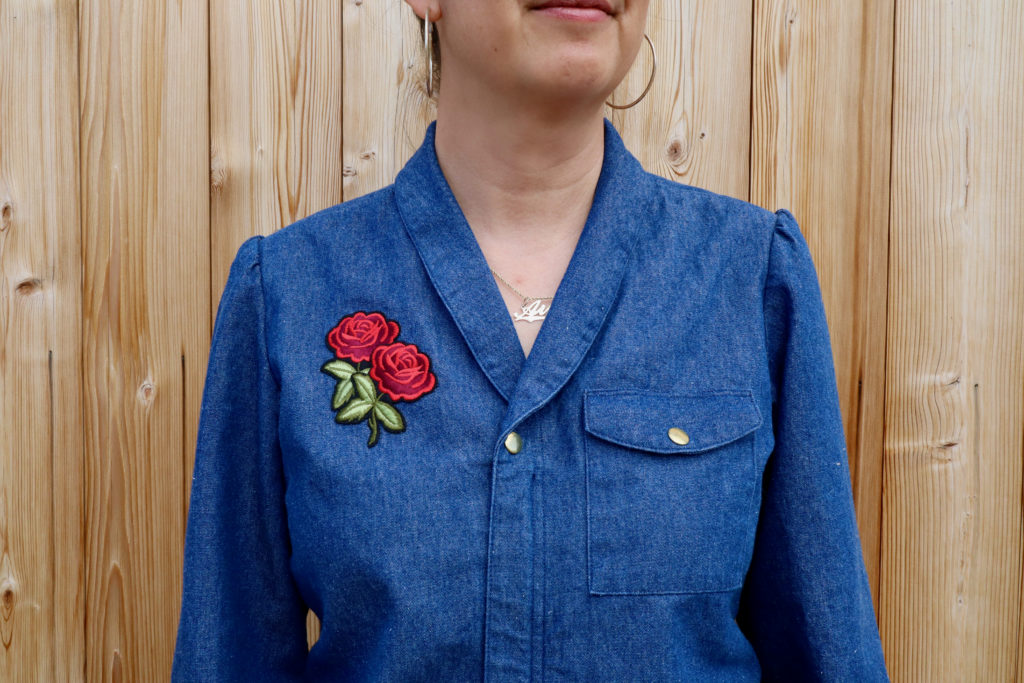
I’m super happy with how they turned out. I decided to sew them up in an inexpensive denim as a wearable muslin to test. Later, I plan on making more of these with various collar shapes in bright, fun colors!
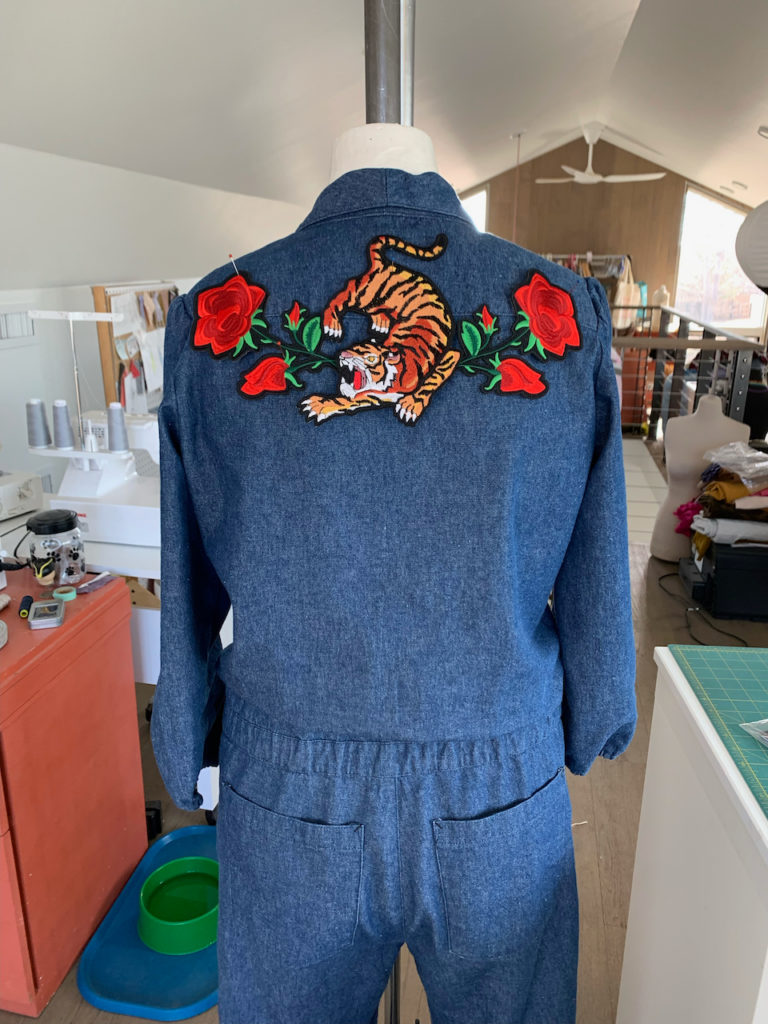
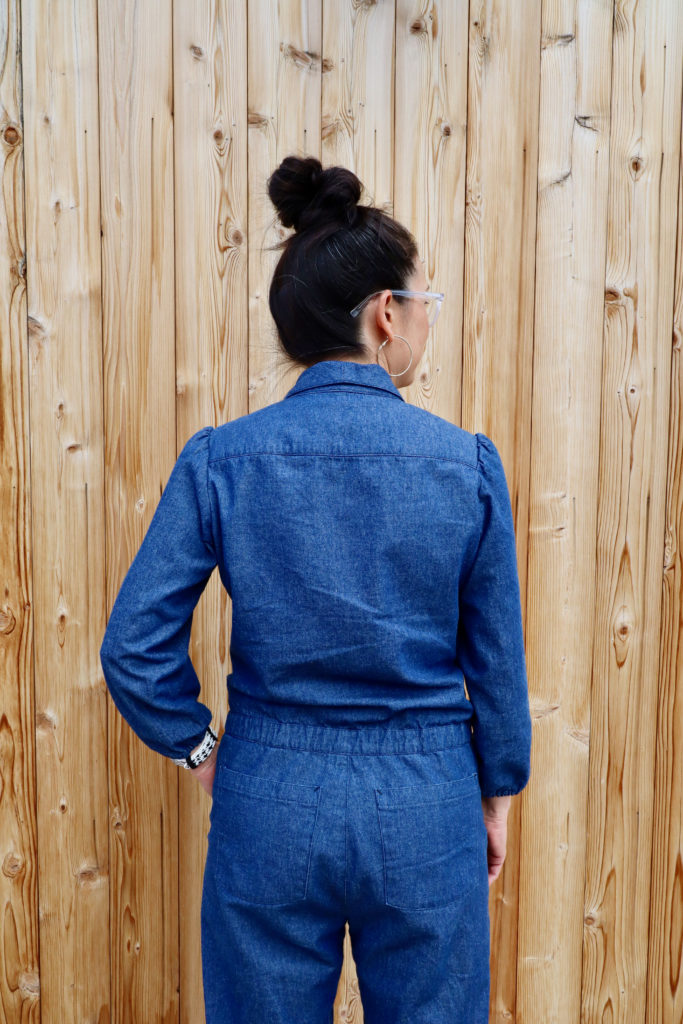
To jazz these up a bit, I added some fun details with sort of a punk/rockabilly style. I don’t have any tattoos but I wanted to take some of that inspiration here using patches. I also lined the pockets and waistband with black and white checks (a la Vans slip-ons – you know the ones).
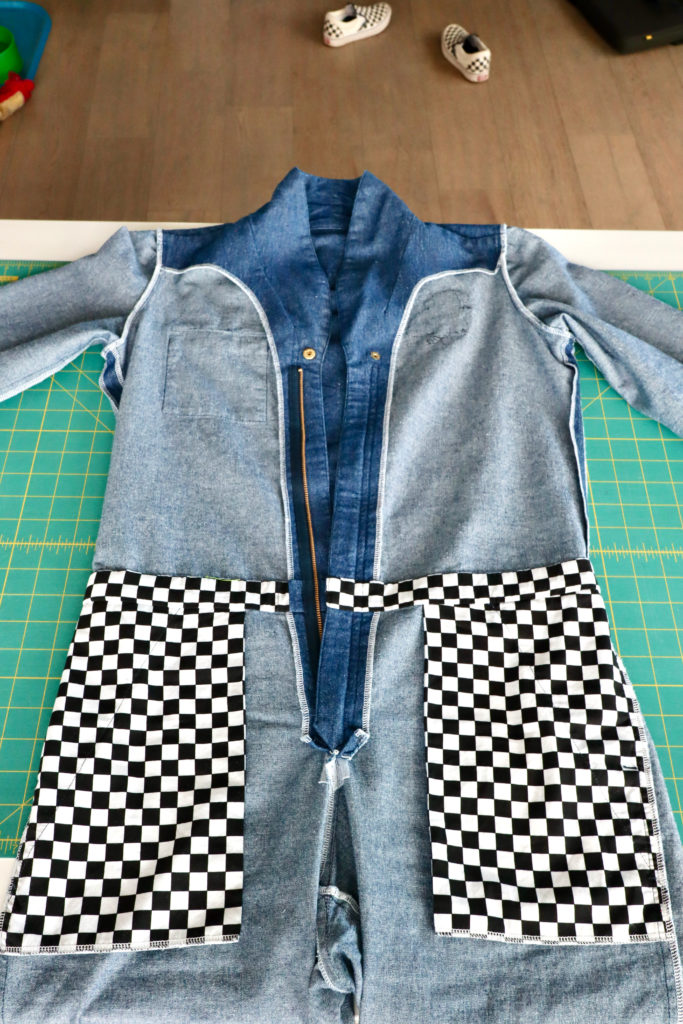
After several past failures fitting coveralls and overalls, I feel like I finally nailed the fit this time. It wasn’t easy but hey – at least you can benefit from my struggles!! 😂
Here are my top 5 tips:
Tip #1: Include enough vertical ease to sit & bend over
I know this sounds obvious but it’s really easy to either come up short or end up with unintended drop-crotch (oh, the horror! 😅)
The big question is: how much? Well for me it ended up being 2 inches of vertical ease each for front and back. To give you an idea of what that means – when I measure from my high point shoulder (HPS) down through my crotch and back up to HPS, it’s 60.5″. So we’re talking a total of 4″ of vertical ease for 60.5″. On my coveralls, HPS to HPS is 64.5″ including the vertical ease. You can use the maths to figure out how to translate for your body! And then test it to make sure you like it (see tip #4).
Now, where to put that vertical ease? I initially thought it should be evenly distributed between the top and the bottom, including adding 1/2″ to the crotch width to add room in the seat. That turned out mostly to be true, but I ended up with a little more in the top section for a blousing effect which leads me to my next tip…
Tip #2: High armscye and ease to reach comfortably
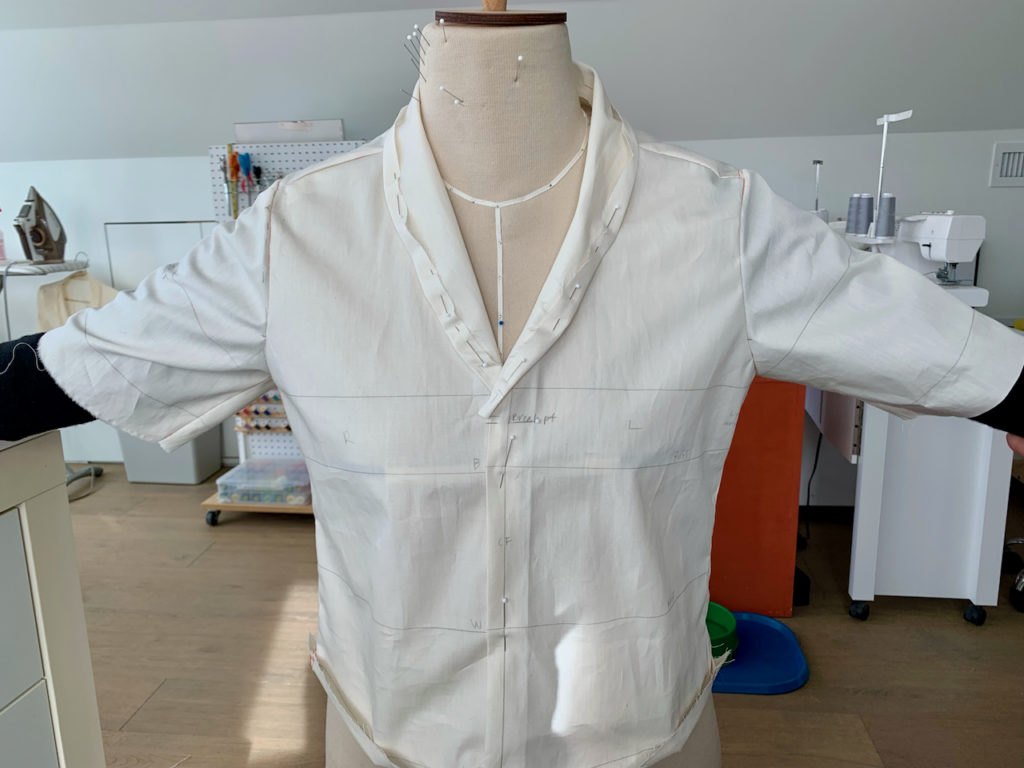
After many experiments, I found that keeping the armscye high and maintaining more of the vertical ease between the bottom of the armscye and waistband really helped with arm mobility.
In the photo above, you can see the benefits of a high armscye with a lot of length in the side seam. On the left, I kept the original armscye depth of my draped block and on the right, I’ve raised it about 1/2″, increasing the side seam length. When I raise the arms, you can really see a difference!
When you distribute the vertical ease so there’s a little blousing above the waistband, it will be easier to raise your arms. That’s because as you raise your arms, you’re only lifting the garment up through the waist and not having to lift the whole pant up too. (You may still be lifting up the pants if you don’t anchor at the waist so keep that in mind when you fit the waistband.)
Here’s a video showing how well these adjustments are working in my coveralls on me.
Lastly, I found that I like to add about a quarter of an inch to the cross back at the armscye. You can also use pleats along the back like you see in a lot of coveralls to give even more room.
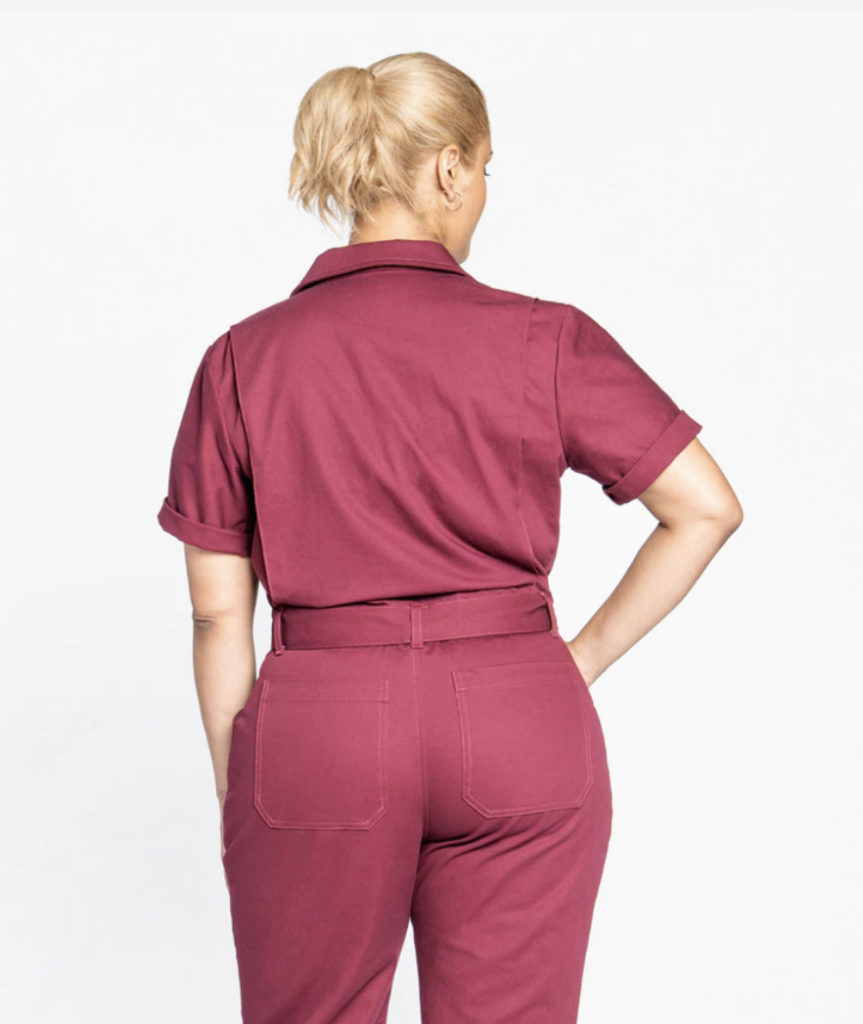
Tip #3: Extra length for shrinkage
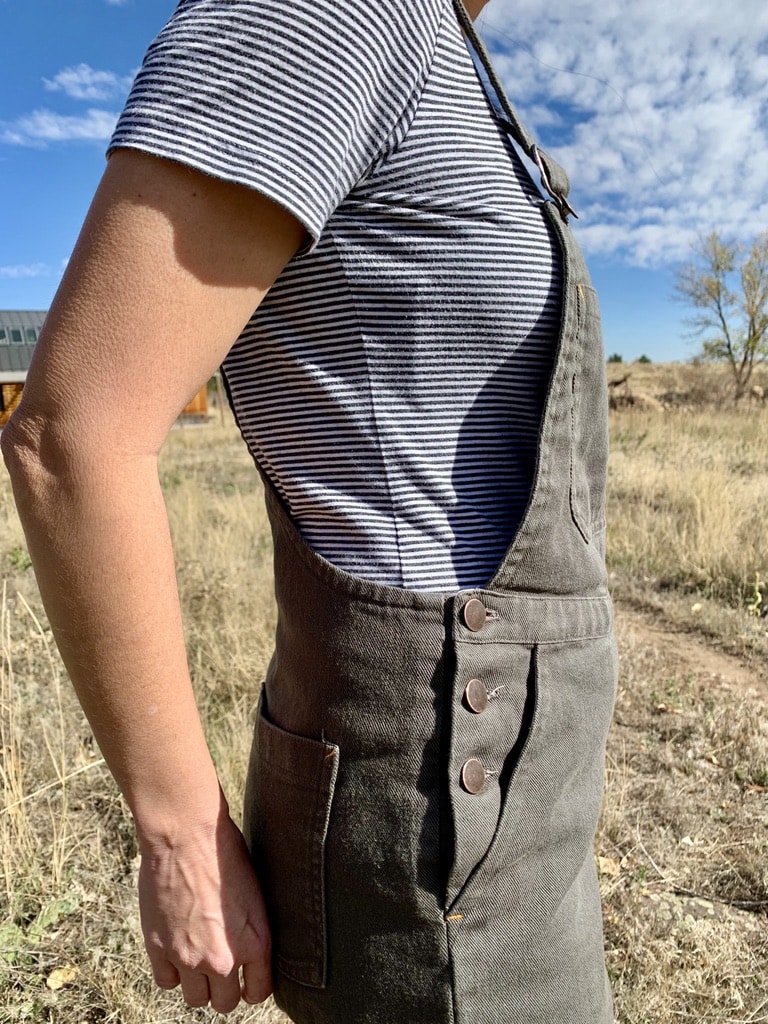
No matter how many times I pre-wash my fabric (mostly cotton and linen), I find my pants/coveralls/overalls still shrink a bit over time. My theory is that there is a lot of vertical length, especially in jumpsuits, so even if it only shrinks a tiny bit per inch, there’s a lot of inches there. And that adds up.
To mitigate the issue, I hem my jumpsuits an inch or two long and wear them cuffed for a while. After several washes, I re-hem if needed. For overalls with adjustable straps, add a few inches to your straps.
Tip #4: Determine waistband location during fitting
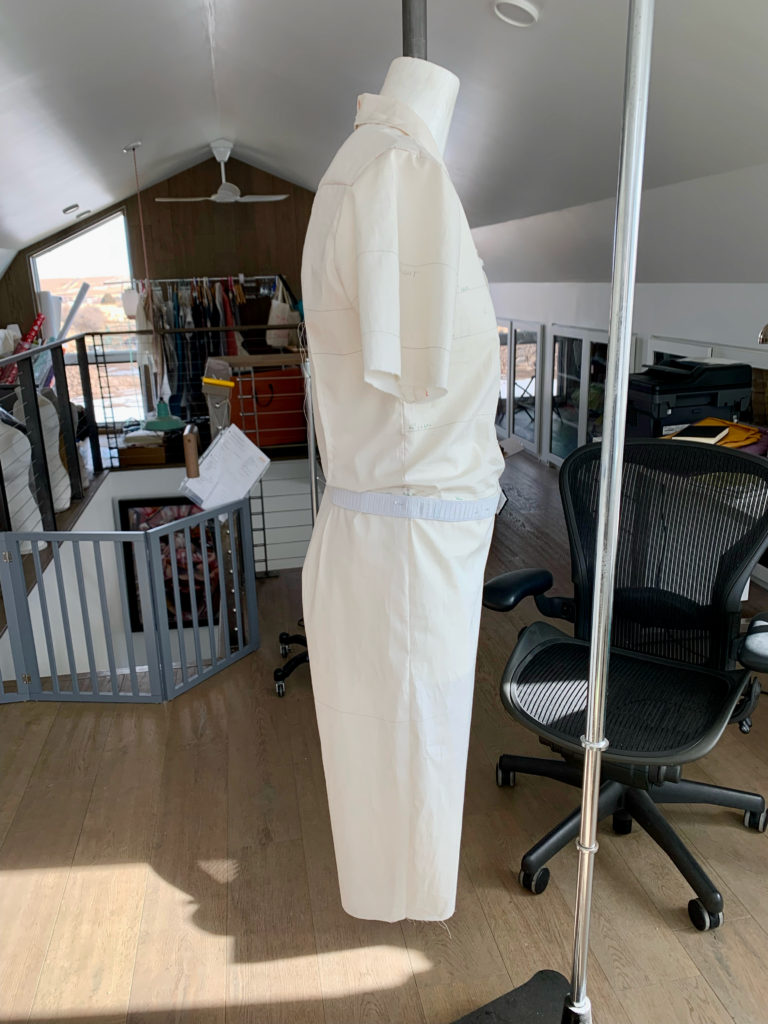
Whether you’re sewing from a commercial pattern or draping a pattern from scratch like I did, it’s really hard to know lengths and waistband placement before trying it on.
The method that works best for me is to do some testing without the waistband first. When I do this test, I make sure there’s enough ease so that the garment does not anchor at the waist (you can take this up later at the side seam, waist elastic, and/or waist darts after your fitting experiment if you want a closer fit.)
Depending on the waistband height and my fitting confidence level, I add an extra inch or two of length to both the top and bottom sections at the waist, pin them together, and try it on. I put on a loop of waistband elastic over the top (and pin) to hold the position of the waistband. Then I try sitting, reaching, squatting, etc. for a while and adjust. I check the crotch to make sure it doesn’t look baggy or MC Hammer-like.
Once I’m happy, I mark the final lengths and the waistband location, and anywhere I want to take up any ease in the waist girth. On the sewing table, I measure to verify it has the minimum vertical ease I mentioned in Tip #1. Ta-da! Perfect fit.
#5: Fly opening low enough to get on/off easily
I’ve screwed this up before and it’s not fun. Talk about some serious gymnastics to get in and out when you have to use the bathroom.
The trick here is to go as low as you can without bashing into the curved part of the crotch. Mark this on your muslin and test it before committing.
If you can sense a theme here, it’s having enough length. Nobody wants to be cut off in the crotch, be sporting high-water hems, or not be able to raise their arms. Custom made gives you a unique opportunity to have a jumpsuit that fits properly which most people can’t achieve with RTW.
Considering how little there is out there on the internet to help fit these types of garments, I hope this little cheat sheet helps you realize your jumpsuit dreams!! You can do it!
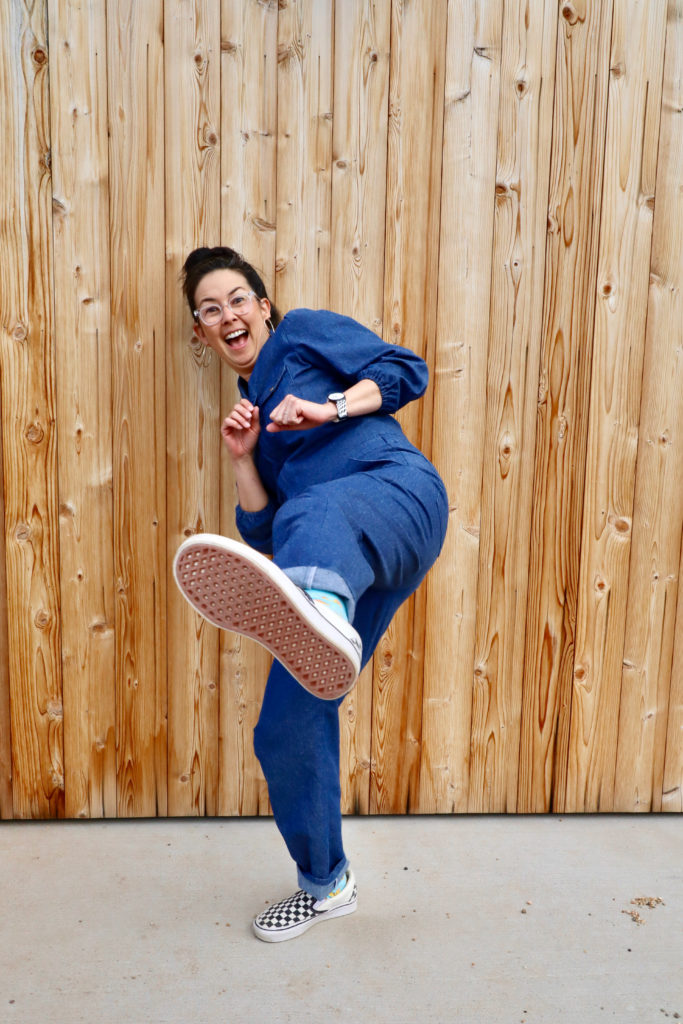
Are there a set of coveralls or a cute jumpsuit in your future? Let us know in the comments!
Happy sewing!

Alison! You’ve just saved me DAYS, maybe weeks, of tweaking and frustration! Thanks for this post, for sharing your experience.
It’s my pleasure Marie – so glad you are finding it helpful!
They look super cute on you and though I’m unlikely to be making or wearing a jumpsuit in the near future, this is great advice! You clever thing you!!
Thank you Caroline – you’re too kind!
Love the jumpsuit and all the details on how you made it fit. Did you make the gray overalls in the picture? I’d love to find a pattern for them.
Thanks! I created my custom overalls pattern from a pants block I draped. I couldn’t find a pattern with the details I wanted so I made my own with my Beatrice! Esp the back design…