Do you like to panic sew before a hard deadline, like getting on an airplane? I can’t think of a better reason to be extremely productive in the sewing room! 😅 Seriously though, we’ve all been there.
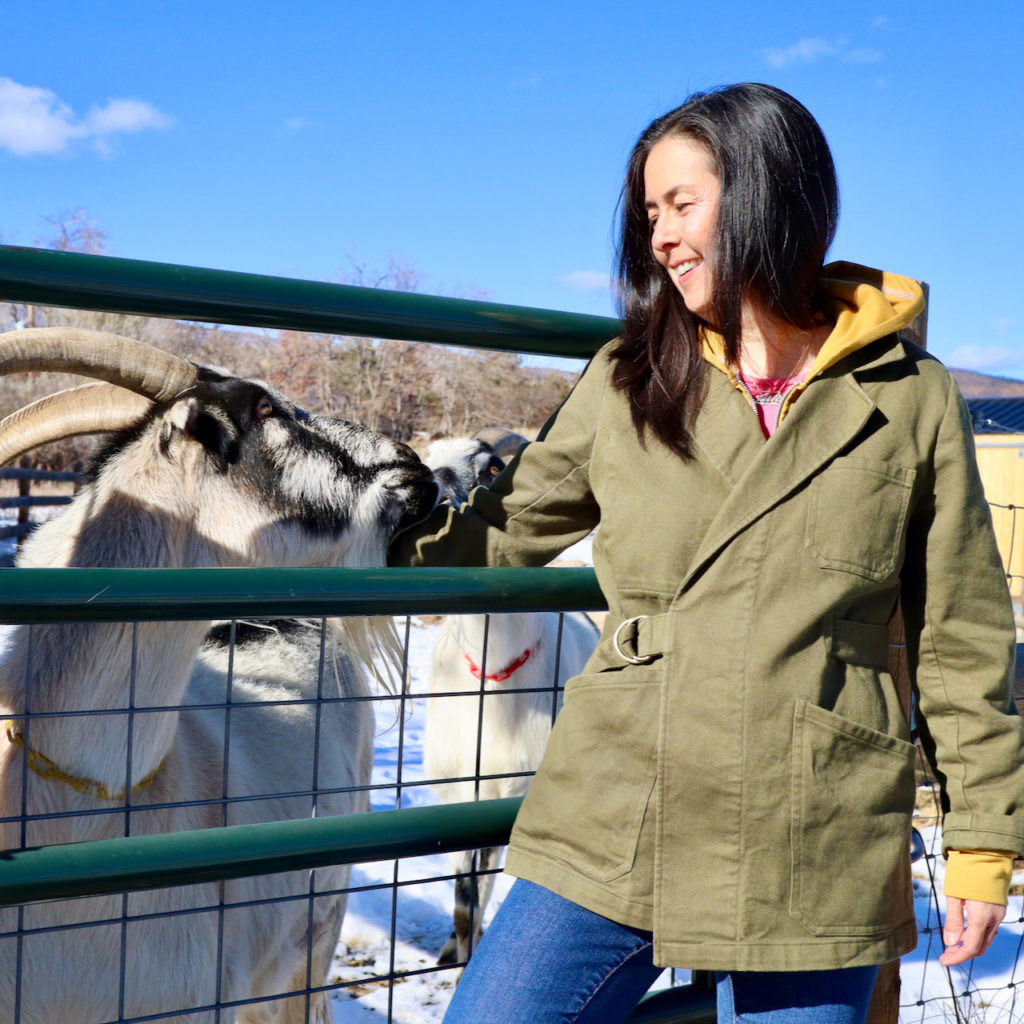
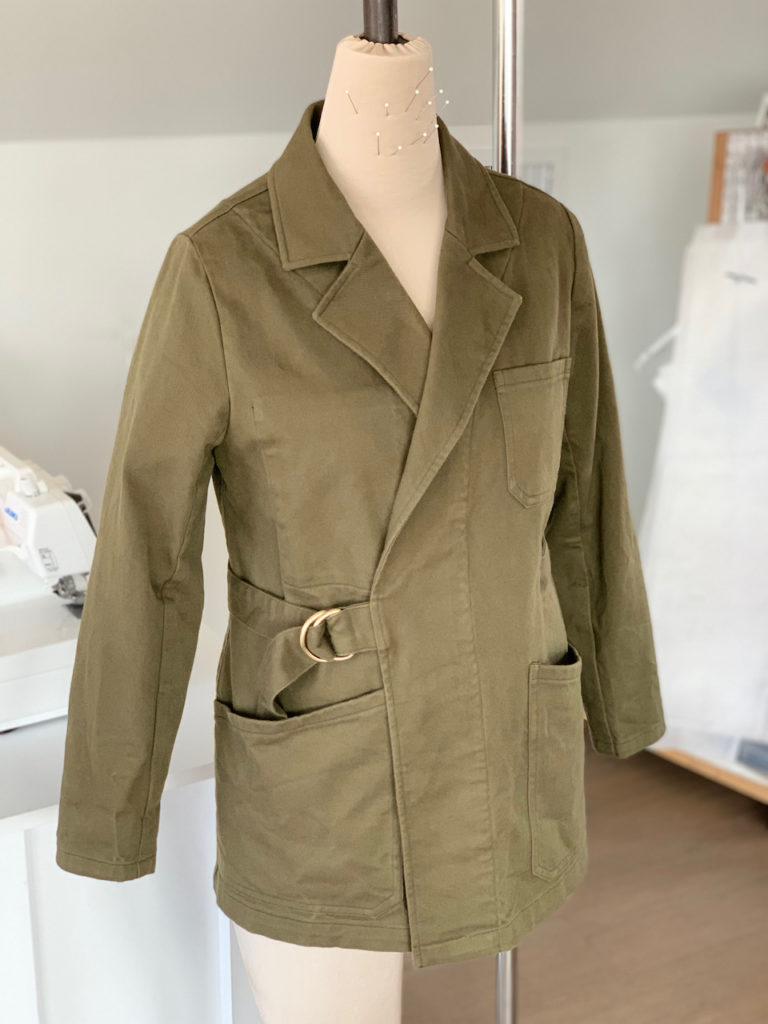
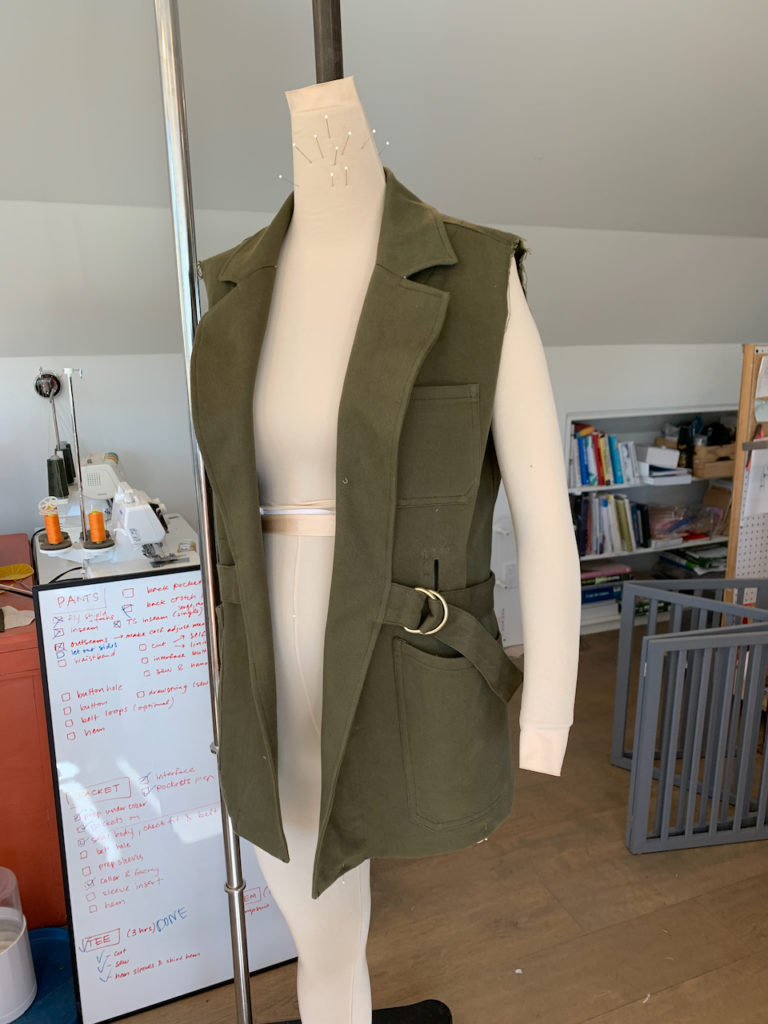
Well, this time it worked out. My Sienna Maker Jacket ended up being the perfect piece of outerwear for my recent family trip to Orange County, CA. Best-jacket-ever for the plane ride! SO many pockets for all my flying doodads: inner pocket for my phone, small one on top for my AirPods, big pockets down low for hand sanitizer, snacks, and everything else.
I even landed some nice compliments from a flight attendant when I boarded. She lamented, “You just can’t buy something as well-fitting and well-made as this anymore.” Ain’t that the truth!!
And the best part? Thanks to my Beatrice, I was able to fit and sew it in less than 3 days....with NO MUSLIN. (Even if you don’t have a Beatrice, these techniques can still work by tissue fitting on yourself.)
Here’s how I did it.
Step 1: Identify your standard adjustments
Like many people, I’ve got a rounded back and forward head and shoulders posture from all those years hunched over my projects. I’m also short-waisted at 5‘2”.
This means I always zero in at the shoulders and upper torso for my initial adjustments. Typically, I need more length and width in the upper back and a lot less in the front. I also usually need to move the neck forward and/or lengthen the neckline in many cases.
Step 2: Determine your target ease
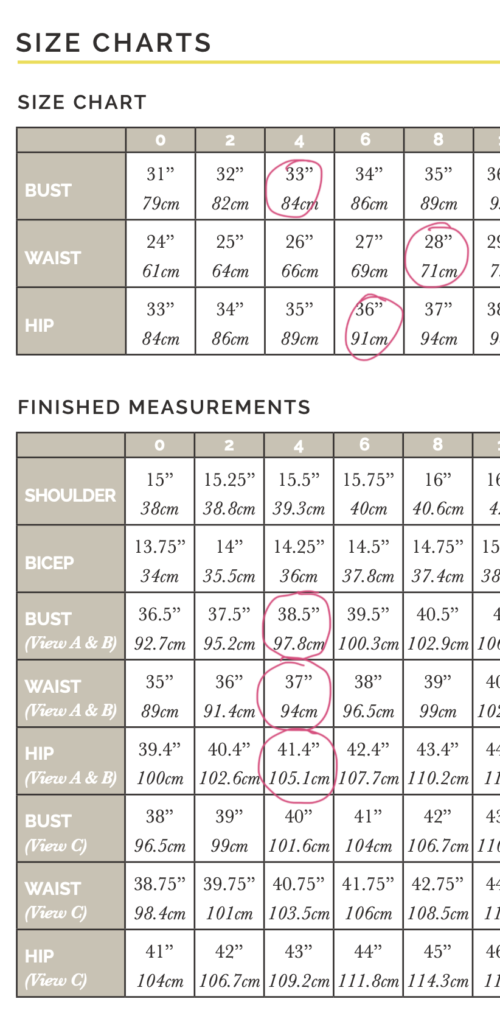
Compared my measurements on top with the finished measurements of the size I ended up making
In terms of girth, I did want to maintain approximately the same amount of ease as included in the original pattern design. For my size, this was about 5+” in the bust, 9”-ish in the waist, and about 5+” in the hip. Perfect - I wanted lots of room to layer underneath. I didn’t worry much about the waist since this isn’t a tight fitting situation.
Step 3: Put the pattern on your Beatrice and compare key points
As shown in my Part 1 video, I used the CF/CB and bust level markings to align and pin the pattern on my Beatrice. Then I compared the original bust/waist/hip markings to my body (I have these marked on my Beatrice). Based on the differences between those reference markings and how the pattern lined up with my body, I planned out the adjustments I needed.
Step 4: Adjust the length, top down
The main issue I saw was the pattern front bust level was hitting way below my bust level. As I mentioned, this is expected for me being short-waisted with forward shoulders/round back.
So I folded out 1” of vertical length at the armscye to get the bust at the right height. The garment side seam and the bottom of the front and back armscyes also lined up better after the change, hinting I was doing the right thing.
You can see in detail what I did in my Part 2 video.
Step 5: Adjust the width/girth and finishing touches
The last step fitting the bodice was adjusting for my narrow shoulders and getting the front and back shoulder seams aligned. I also made sure my garment had the right amount of ease.
In my Part 3 video, I show how I made the final changes to the upper bodice.
Step 6: Check the hem length
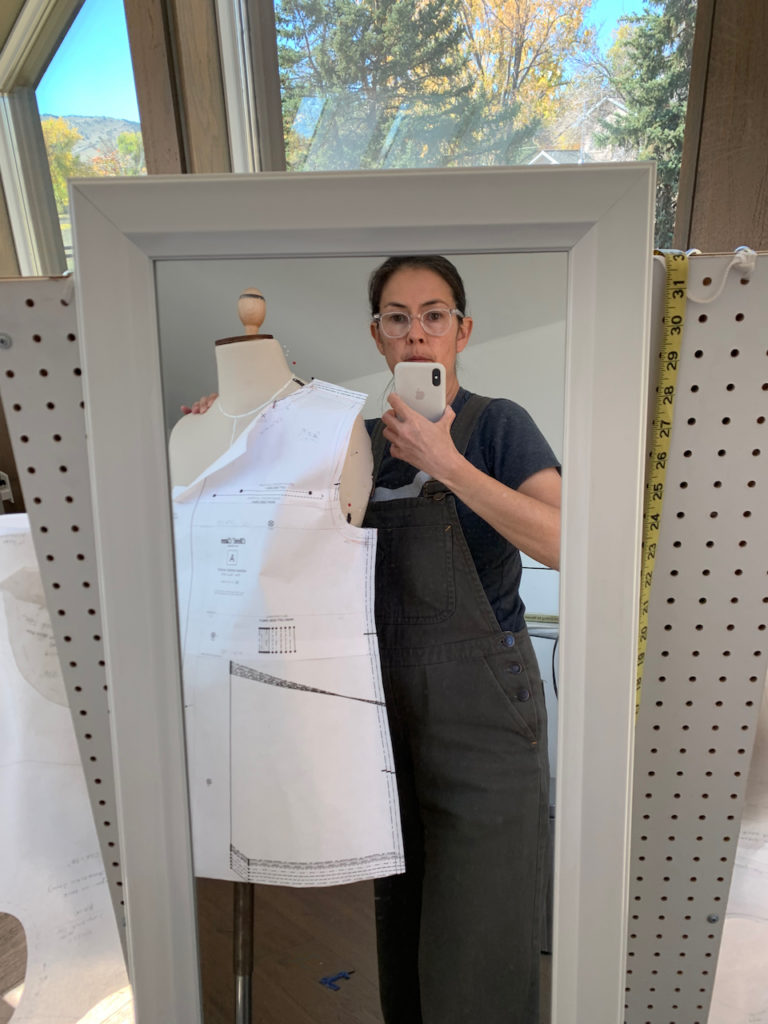
Once I finished up the upper body, I took a look in the mirror to adjust the length. I repositioned my Beatrice Form to be at the same height as me so it was easy to compare where the jacket hit on my body (also great to check if pocket locations feel comfortable with your hands). I took in the length at the lengthen/shorten line.
Step 7: True up & finalize on the sewing table
Here are the final changes in orange compared with the original pattern in blue.
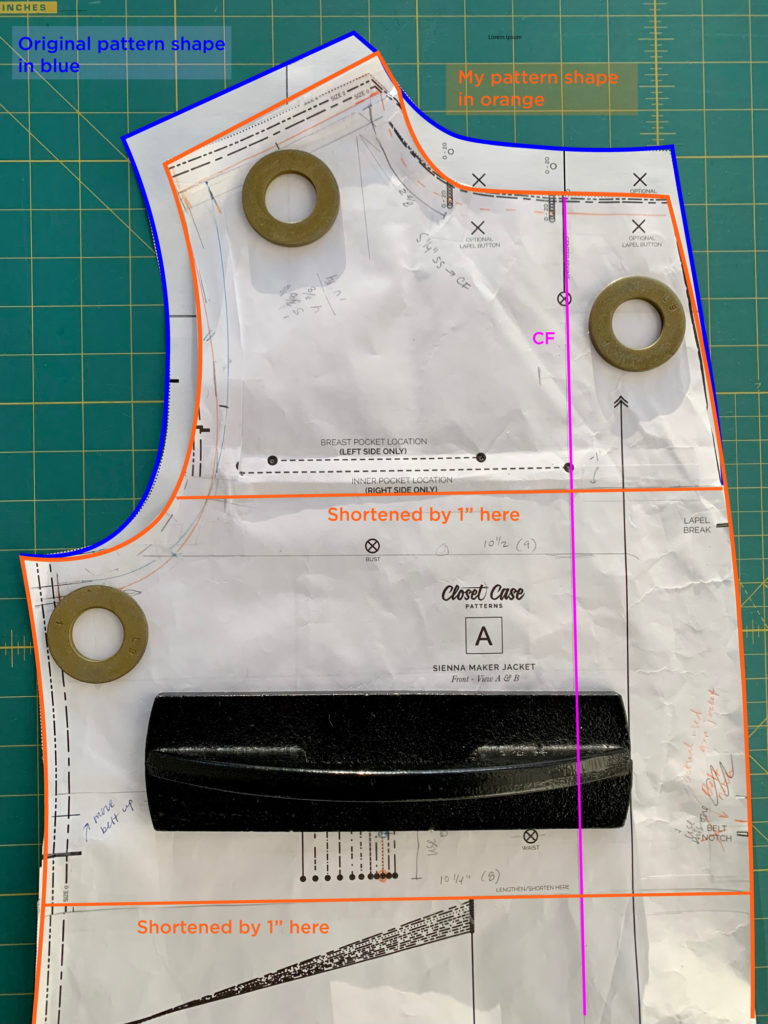
On the front bodice, I changed the following:
- Removed an inch of vertical length at the armscye (forward shoulder/rounded back)
- Took in width at the shoulder for narrow shoulders
- Removed another vertical inch at the shorten line to get the jacket to hit at the hip the way I like it
- Made the pockets smaller to match the scale and look of the original pattern
- Moved the belt location up a bit
The shortening at the armscye required me to reshape it. But I did my best not to change the armscye seam length so I wouldn’t have to reshape the sleeve cap. (It wouldn’t have been the end of the world if that happened though - just got lucky since I had to make the armscye deeper anyways to meet the shorter shoulder seam making it long enough.)
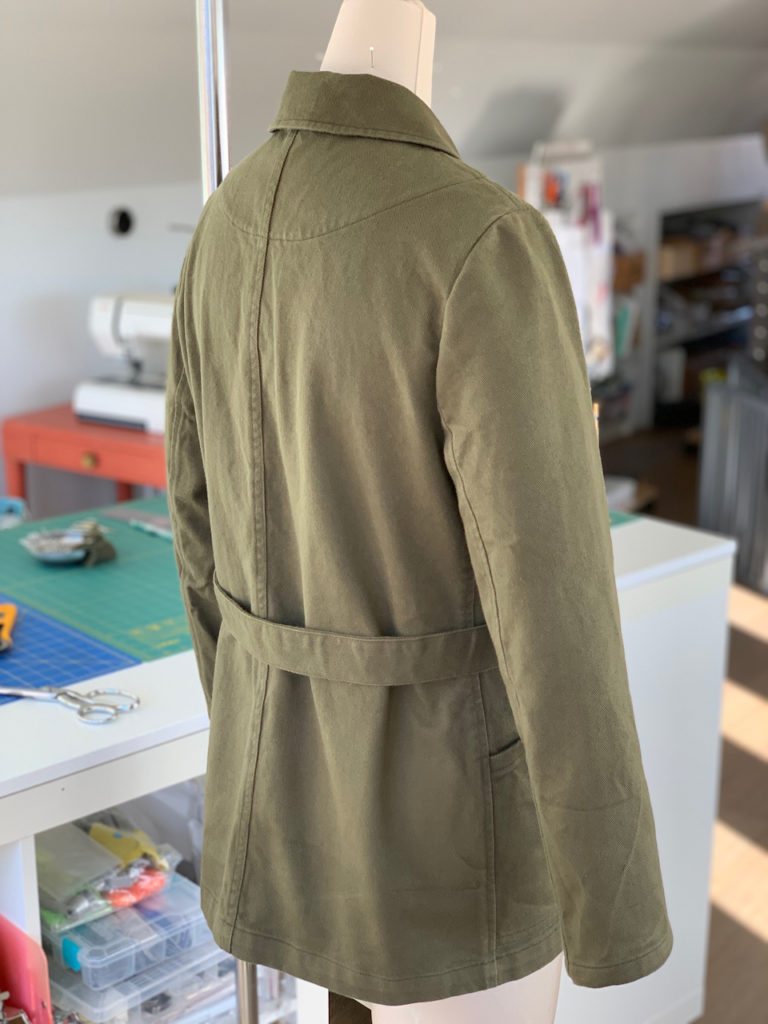
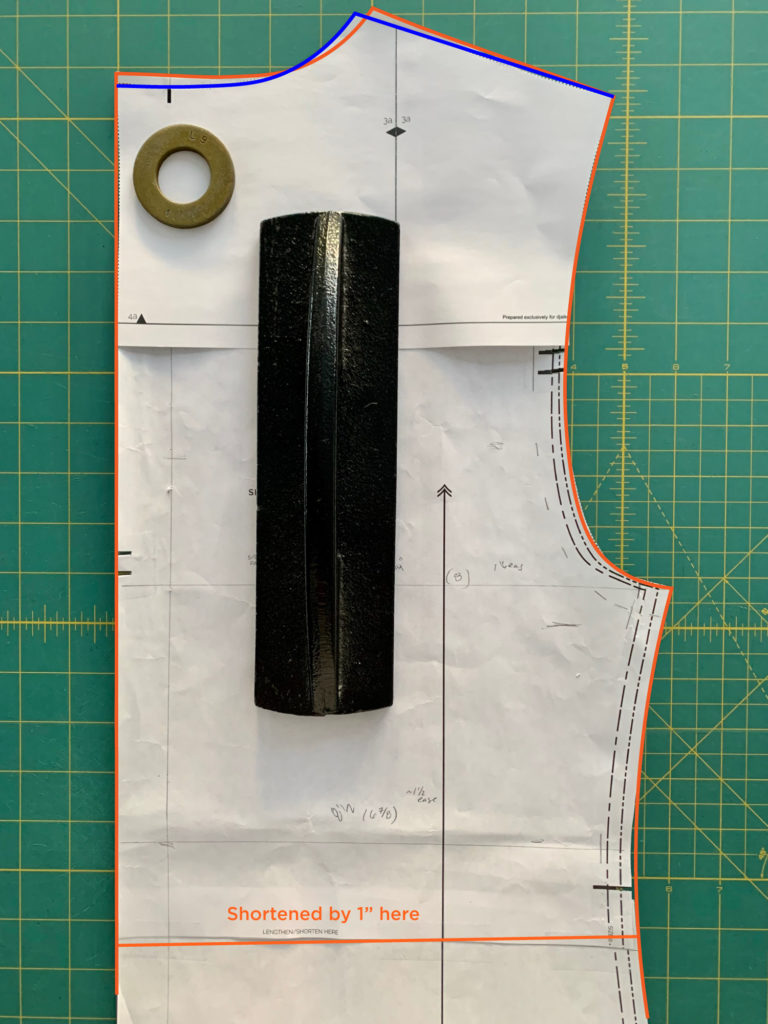
For the back bodice, I only made minor changes. I raised the back neckline a tad, slightly adjusted the shoulder seam to meet the front, and took out the corresponding 1” at the shorten line to match the front. Unlike the front, I left the length in the upper torso to accommodate my rounded back.
Again, my pattern in orange, original in blue:
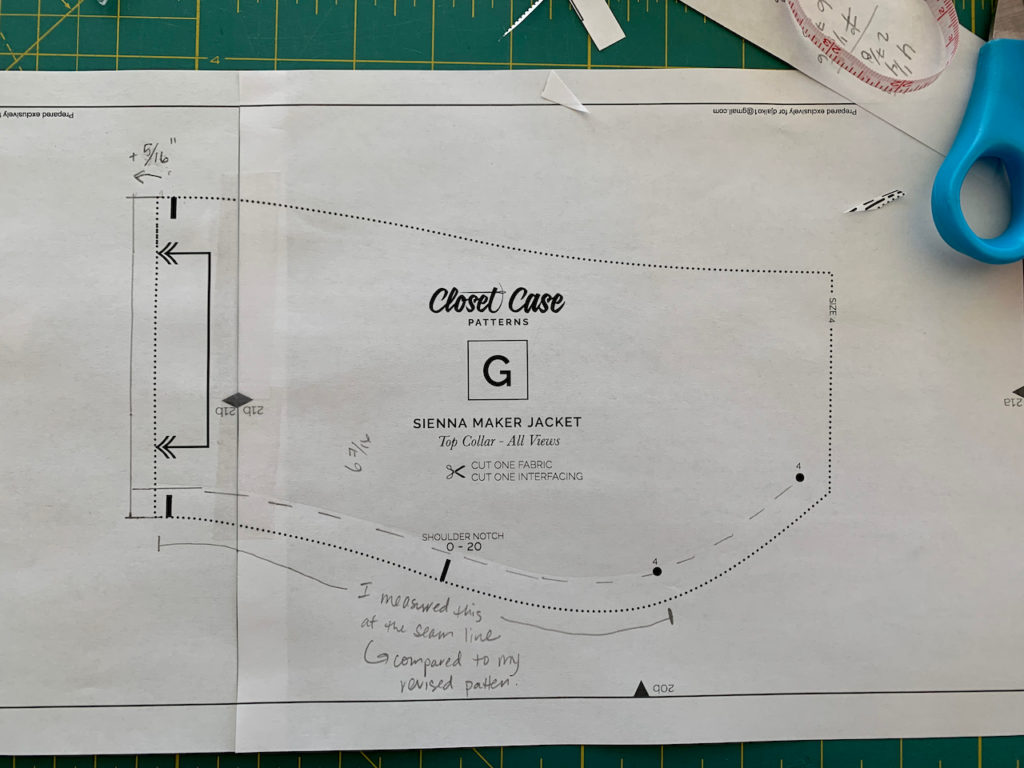
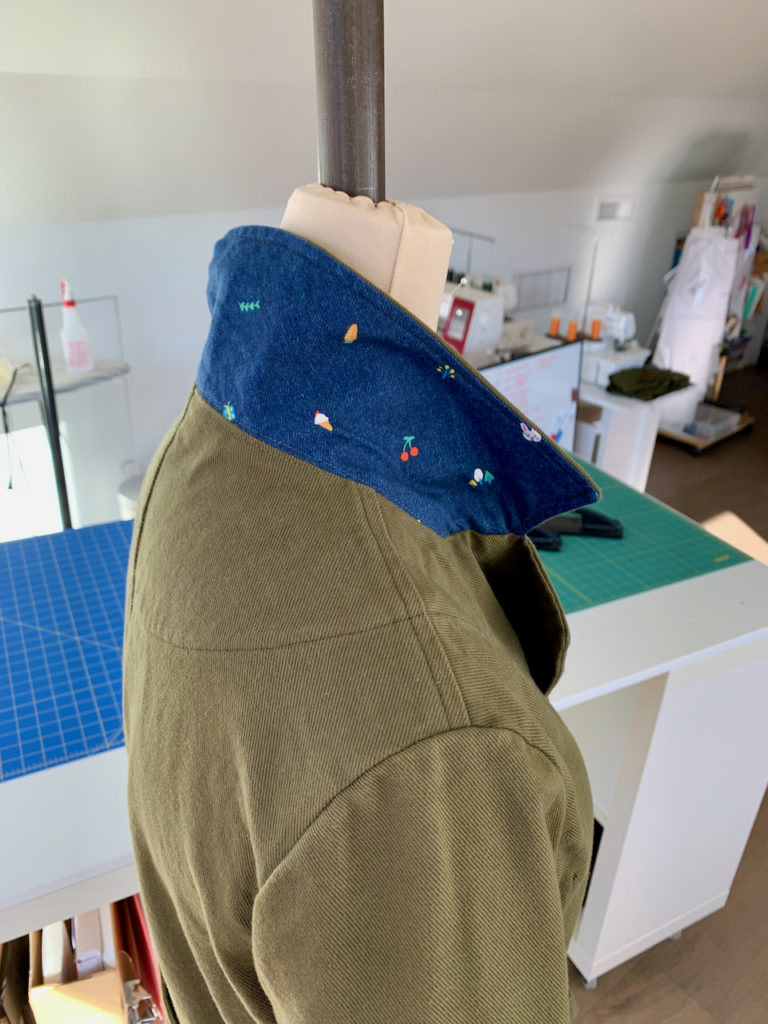
Lastly, since I ended up with a slightly extended neckline where the collar attaches, I had to add the extra width to the top and under collar pieces at CB neck.
Step 8: Sew it up and enjoy!
…my age appropriate under collar fabric choice 😂
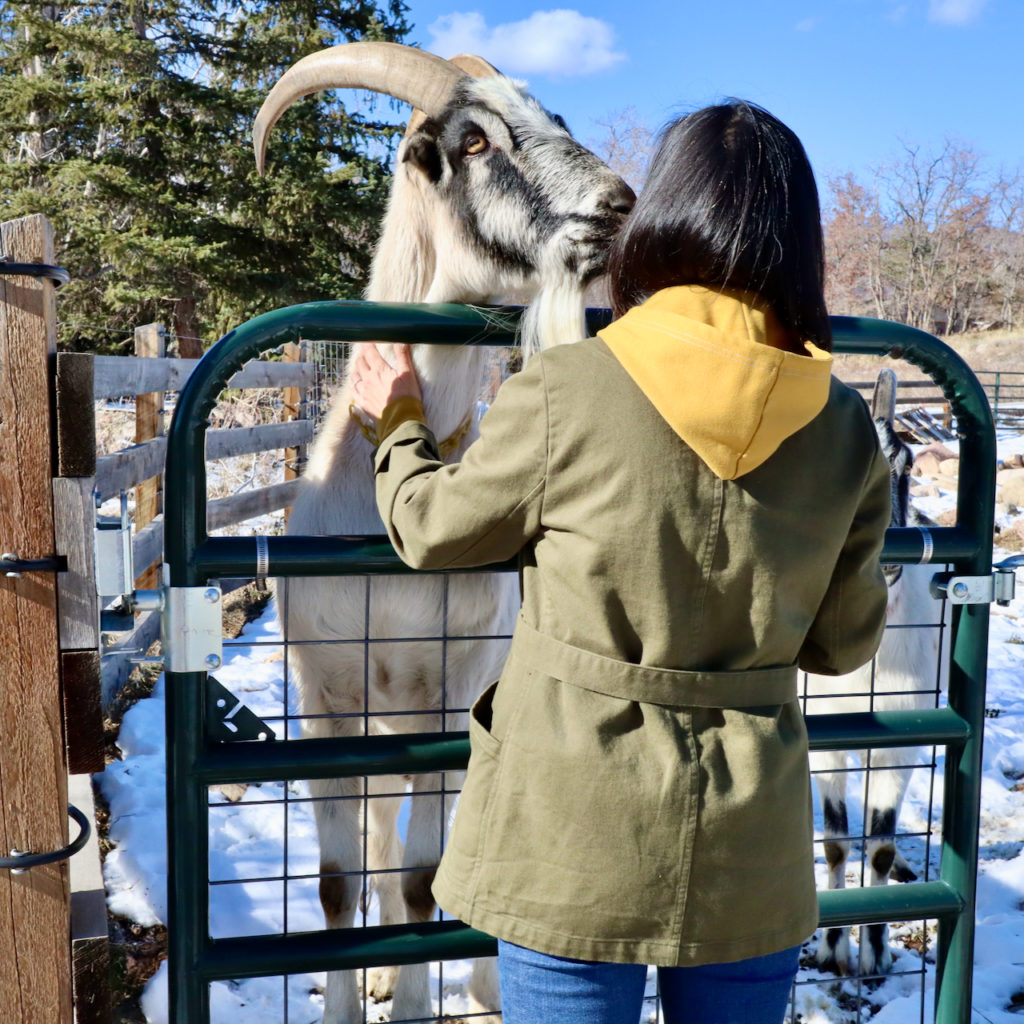
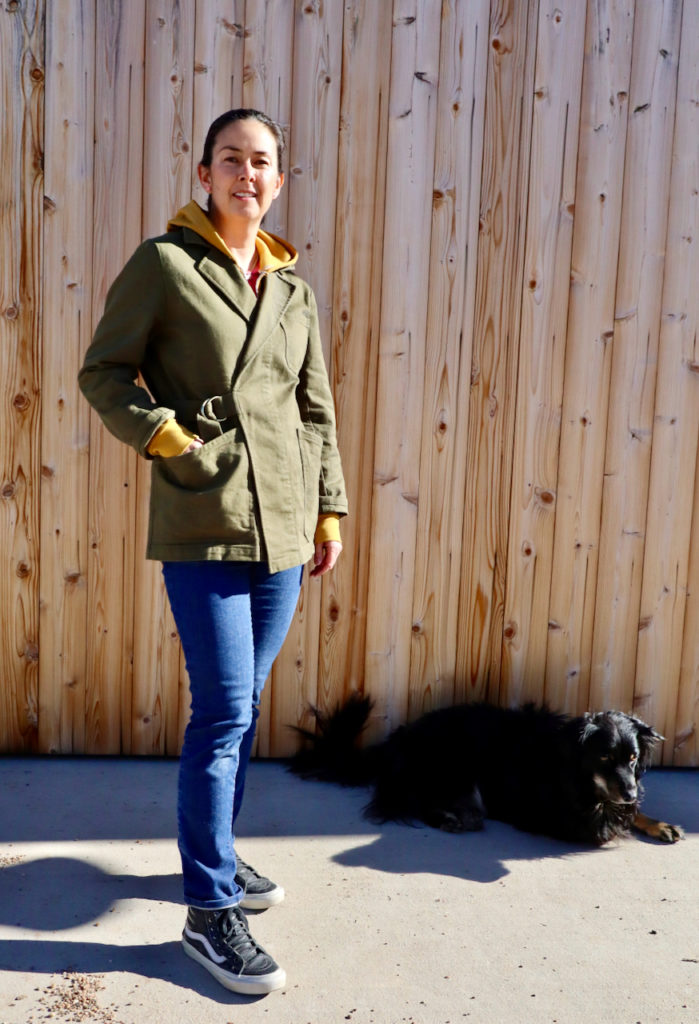
Thanks to my Beatrice (and a bit of luck!) I was able to get this well-fitting jacket done in time to enjoy on my trip 🙌
Have you ever had to rush fit and sew a project on a deadline? Would love to hear your stories!
