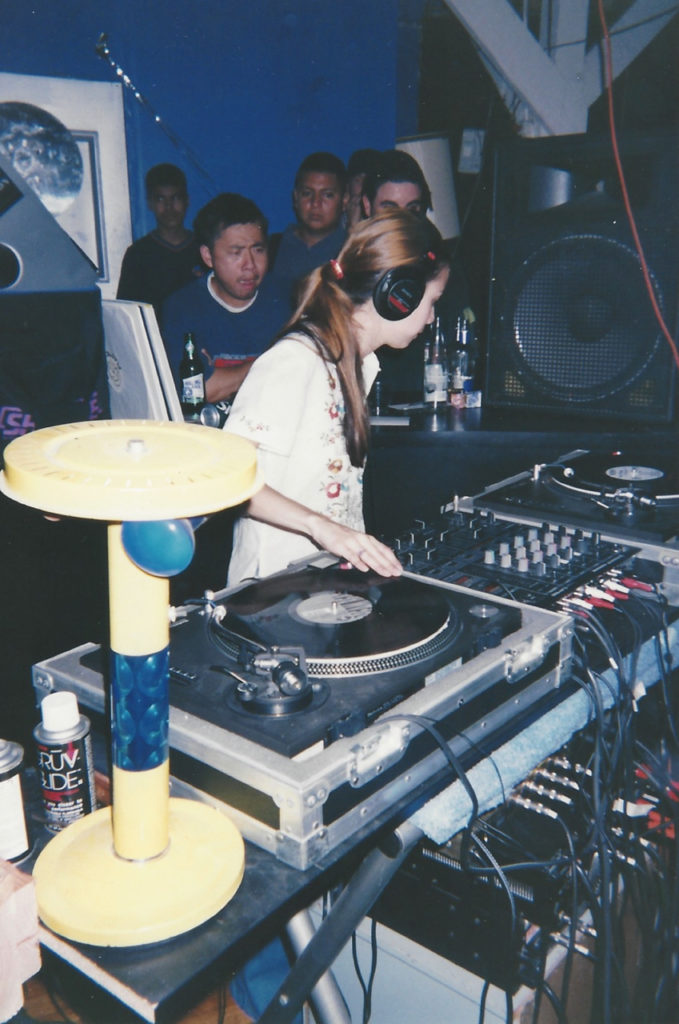
It all started way back in college in the early 90’s…
I was DJ’ing, going out dancing with my friends, and vintage was all the rage. But all the cute tops and dresses in the thrift shops were huge on me and hung awkwardly on my narrow, forward shoulders.
Being the crafty maker type, I borrowed my best friend’s sewing machine, altered away, and created a personalized wardrobe that fit. For the first time in my life, I truly felt like myself in my clothes. I was hooked.
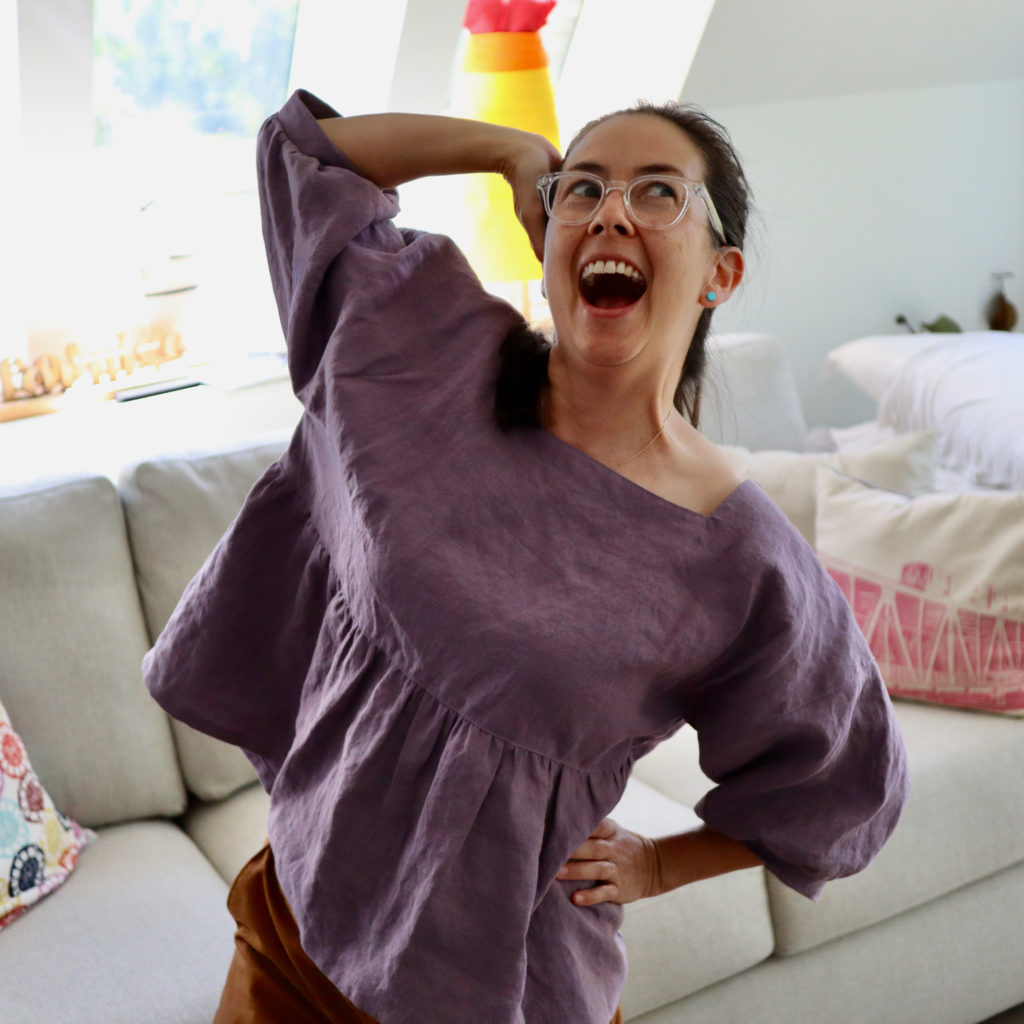
Fast forward to 2013. My body is “maturing”. Things are sitting a little lower and I’ve got new curves. Fit is affecting the way I feel about my body more than ever.
Thanks to many years as a software engineer slumped over a computer, my upper body had transformed into a crumpled mess. Ready-to-wear clothes choked me at the neck and sleeves pinned my arms like a straight jacket. Fast fashion and poor quality had already completely turned me off from clothes shopping. The fit headaches weren’t making it any more fun.
Help! Sewing machine to the rescue!
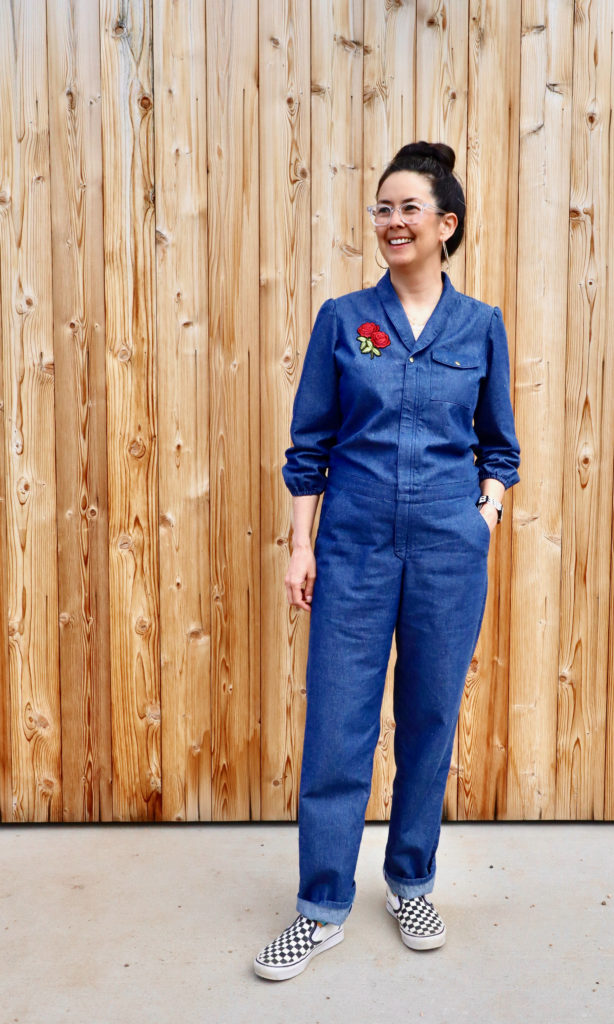
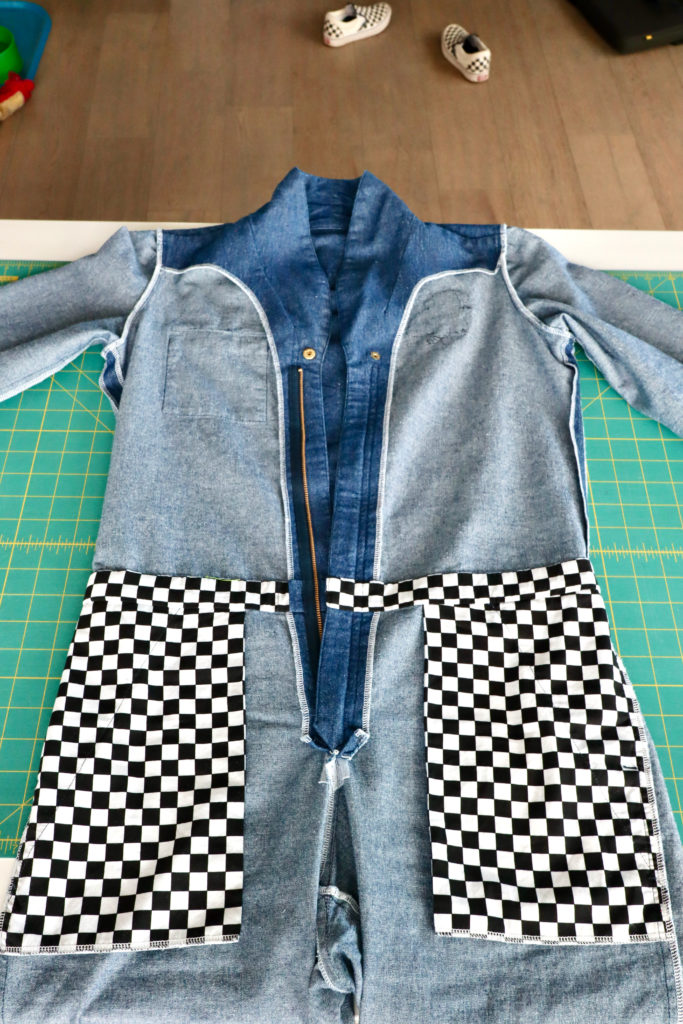
I set out to solve my fit problems by sewing my own wardrobe. Unlike my college years, I now had the power of the internet to help. Online, I discovered this inspiring new movement of independent pattern designers and global community of sewists just like me! Yes, I could do this!
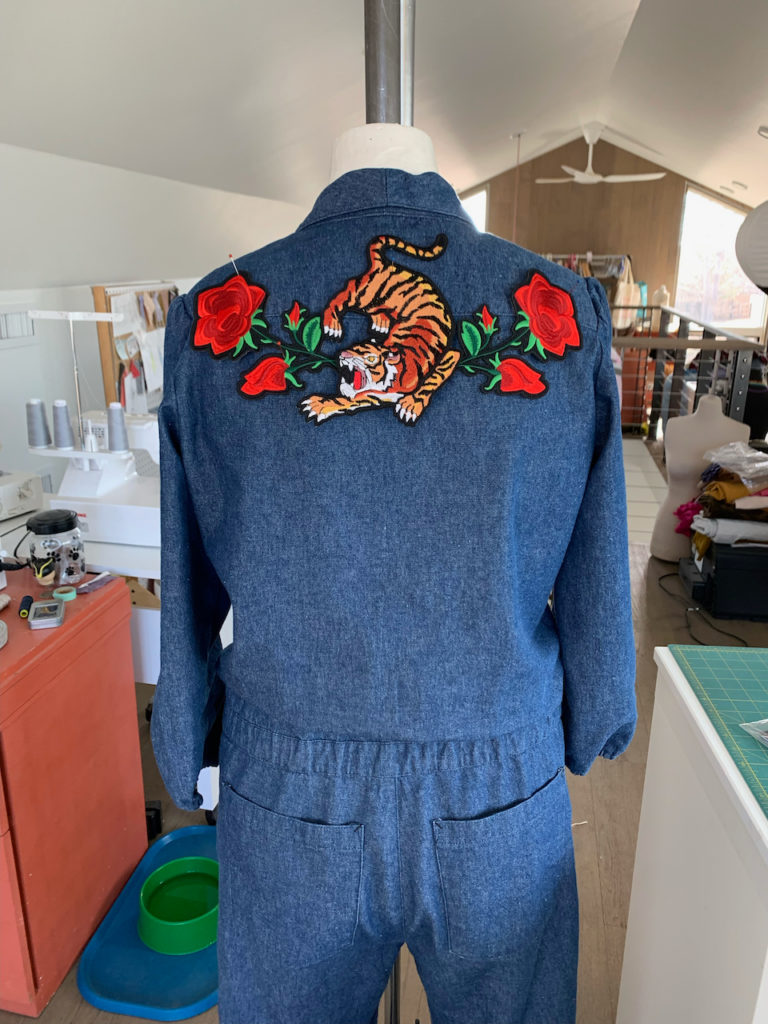
As I pushed to get a better fit, my sewing hobby transformed from a fun, intuitive challenge that I could solve with my hands into a demoralizing, abstract math puzzle. Hello muslin spirals and hacked taped pattern chaos.
I thought maybe what I needed to conquer my fitting woes was a dress form. After a bunch of research, I realized commercial designers were using standard forms to fit an “average” person – that was NOT going to solve my problem because the reason things don’t fit me is that my body is not average. Nobody is an average. I realized I needed a “body double”.
[Read more…] about How Beatrice came to be